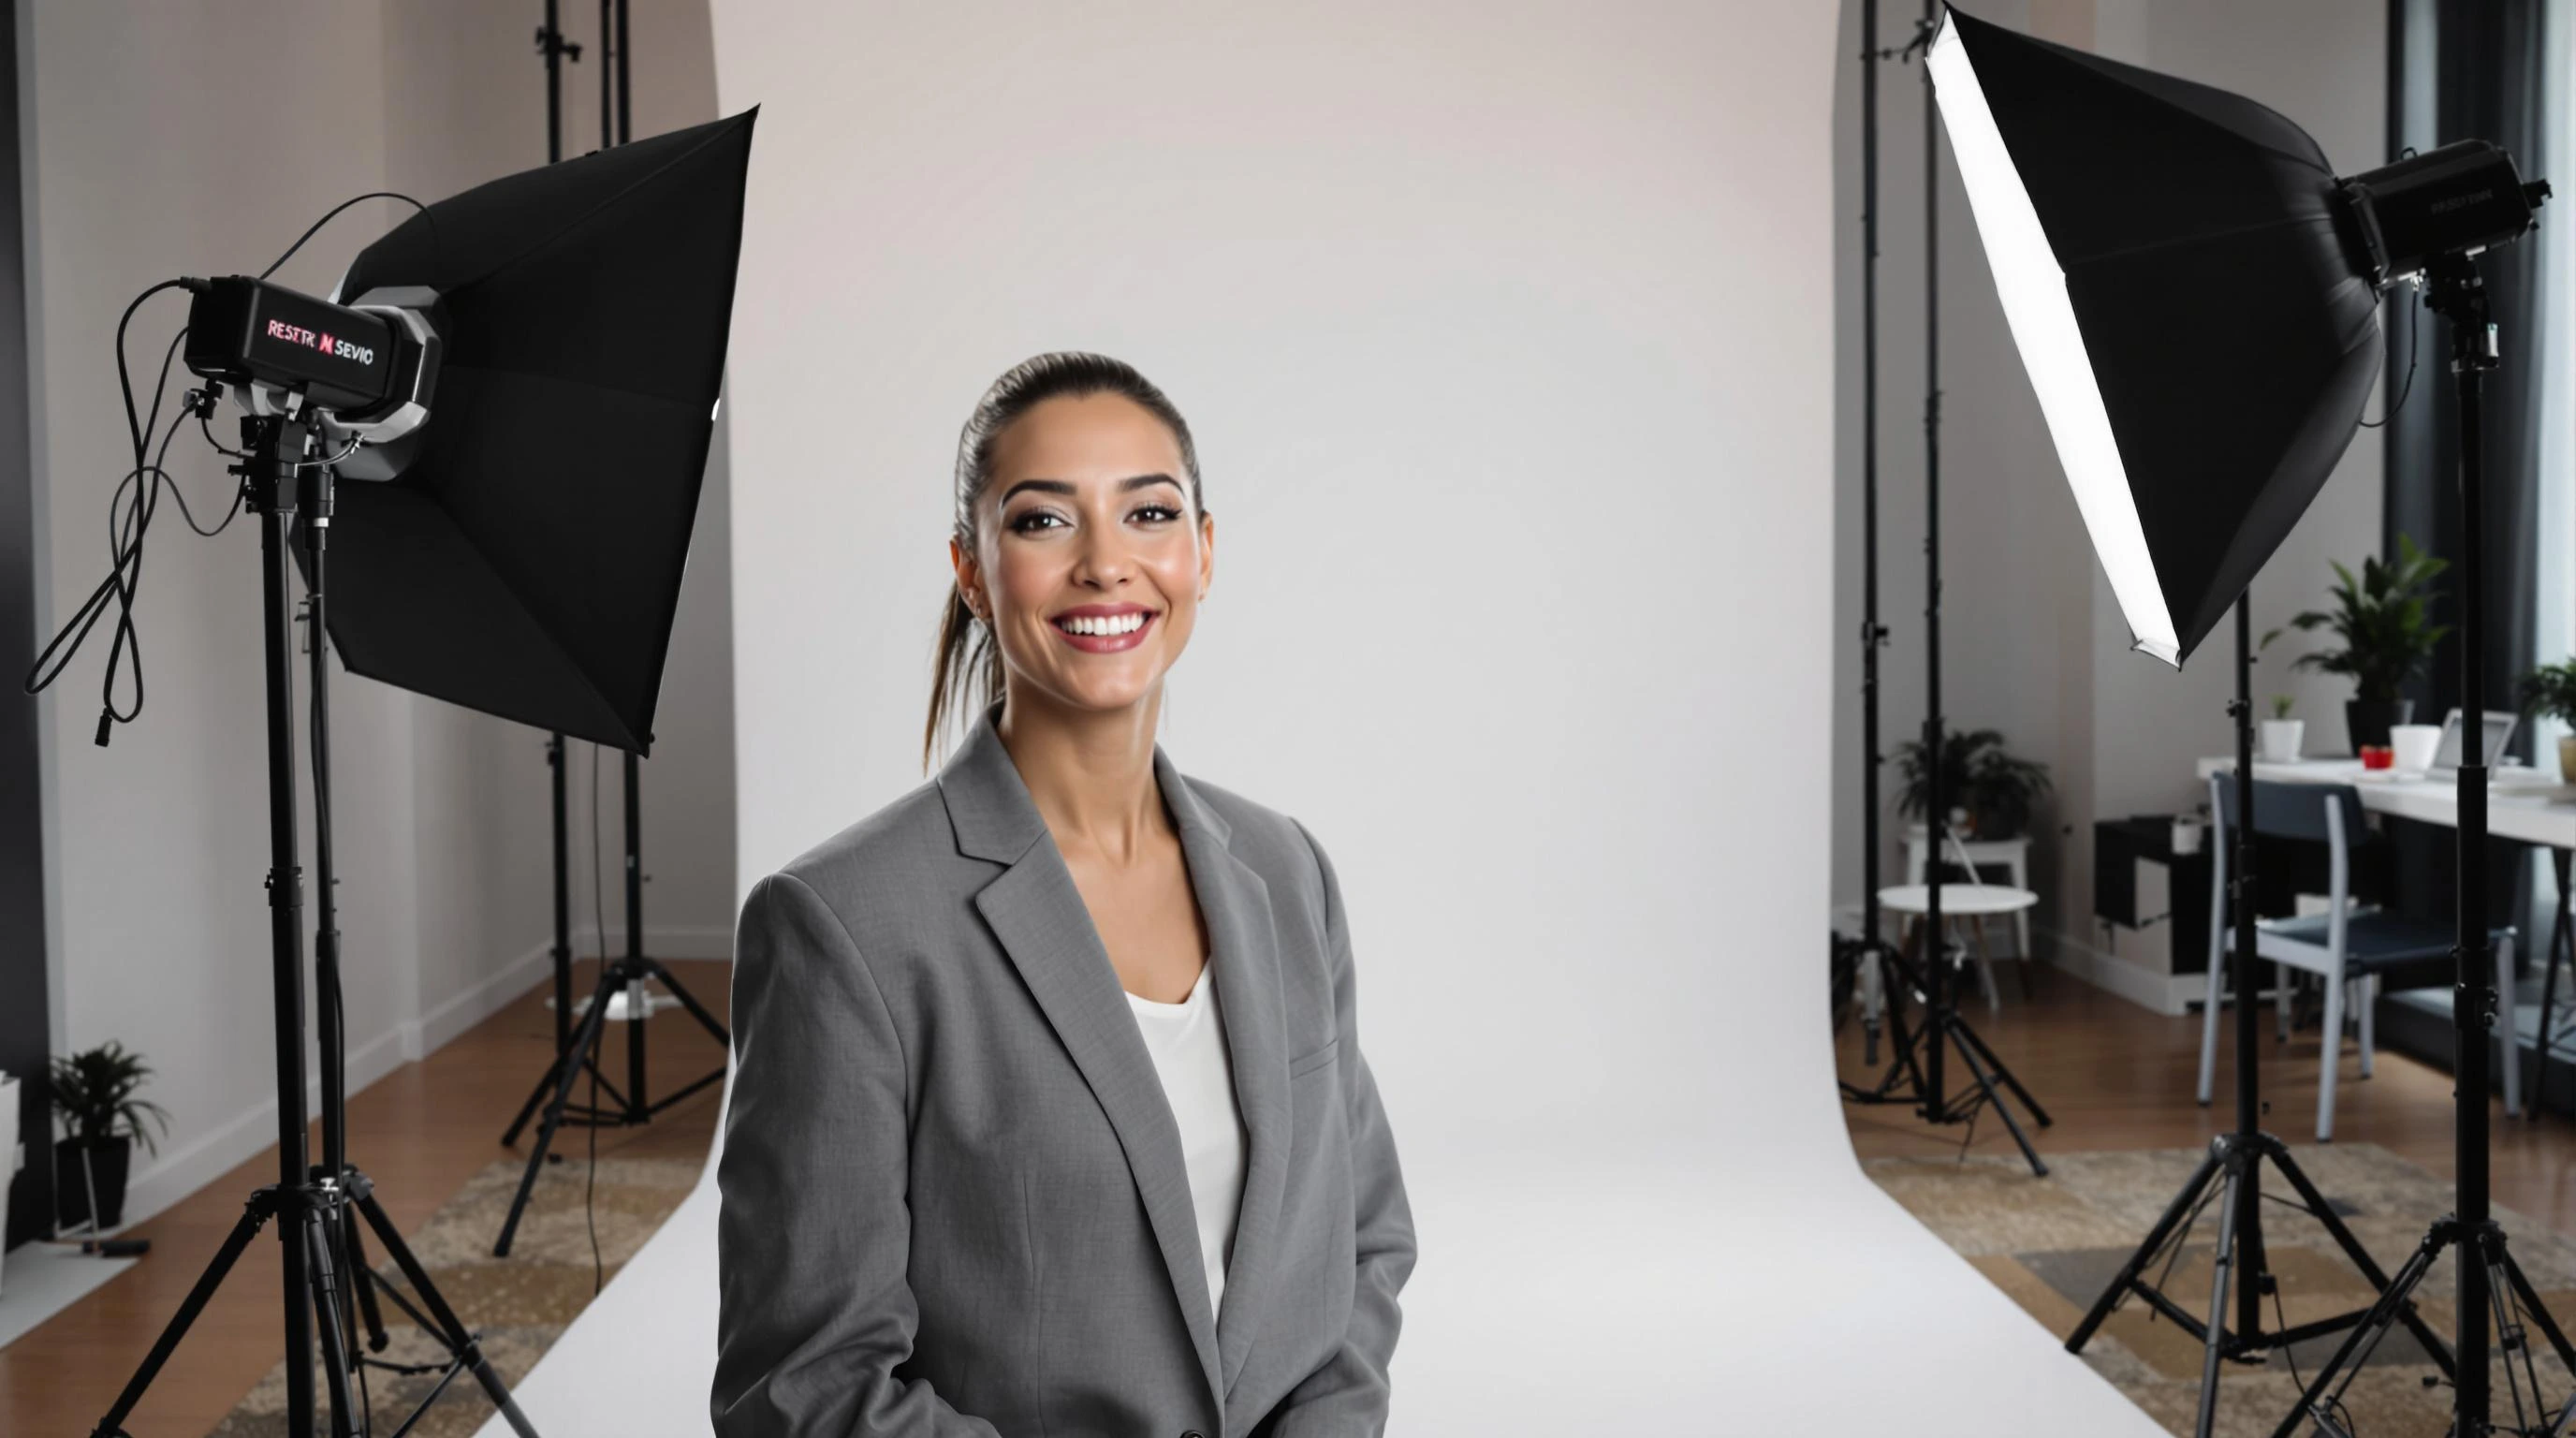
10 Essential Tips for a Professional Headshot Session
Your headshot is often your first online impression. A great one can boost your profile views by 21 times on LinkedIn. Here's how to prepare for a standout session:
- Set Clear Goals: Know where you'll use the photo (LinkedIn, business cards, etc.) and align it with your industry norms.
- Find the Right Photographer: Review portfolios, check reviews, and discuss your needs upfront.
- Pick the Right Outfit: Stick to solid colors, avoid busy patterns, and bring extra options.
- Prepare Your Appearance: Schedule haircuts, touch up roots, hydrate, and plan natural makeup.
- Stay Relaxed on Camera: Communicate with your photographer, review shots during the session, and manage stress.
- Ensure Final Edits Match Your Brand: Keep edits subtle and get files in correct formats for print and online use.
A polished headshot reflects your professional identity and helps you make a lasting impression. Preparation and collaboration with your photographer are key to success.
How to Crush Your First Professional Headshot Session ...

Set Clear Goals
Plan your headshot session with clear objectives to ensure it aligns with your professional needs.
Know Your Purpose
The purpose of your headshot determines its style, tone, and overall presentation. Different uses call for different approaches to leave the right impression. Common uses for headshots include:
- LinkedIn and professional networking
- Company websites and press materials
- Business cards and marketing materials
- Speaking engagement promotions
- Industry publications
Think about where and how your headshot will appear. For instance, if your employer is arranging the session for their website, ask about specific preferences for background, attire, or other details [2]. Once the purpose is clear, align your look with the expectations of your industry.
Match Your Industry
Your headshot should align with the norms of your industry while still reflecting your personality. Different fields often have distinct styles. Here's a quick guide:
| Industry | Recommended Style | Key Elements |
|---|---|---|
| Finance/Banking | Conservative, formal | Business suits, neutral office settings |
| Creative Fields | Modern, expressive | Casual professional attire, artistic backdrops |
| Wellness/Fitness | Energetic, approachable | Athletic-inspired outfits, bright settings |
| Technology | Contemporary, relaxed | Smart casual wear, clean and simple settings |
Study successful professionals in your field to get a sense of what works. Pay attention to details like poses, lighting, clothing, and overall mood. While your headshot should reflect industry standards, it also needs to feel genuine. For example, a yoga instructor's headshot will naturally differ from an investment banker's, but both should communicate professionalism and expertise [1].
Find Your Photographer
Choose a headshot photographer whose expertise matches your branding needs. With careful research and open communication during consultations, you can ensure a successful photo session.
Search and Review
When searching for a photographer, focus on these key points:
- Portfolio Quality: Look for consistent lighting, flattering poses, and settings that suit your industry.
- Specialization: Pick someone with experience in professional headshots, especially in your field.
- Location Options: Decide if you need studio sessions, on-site photography, or both.
- Technical Skills: Confirm they offer retouching and can deliver images in the required format.
- Client Reviews: Check feedback for insights into their communication and the quality of their work.
Make sure their portfolio includes corporate headshots with clean backgrounds and professional lighting that match your industry standards.
Book a Pre-Session Talk
Schedule a consultation to discuss your vision, technical needs, and session details. Cover these essential topics:
1. Technical Requirements
- Preferred image format and resolution
- Background choices
- Number of final images needed
- Usage rights and licensing terms
2. Session Logistics
- Session length and outfit changes
- On-site proofing availability
- Payment terms and cancellation policies
- Timeline for image delivery
3. Special Considerations
- Your comfort level in front of the camera
- Specific angles or features you want highlighted
- Corporate branding guidelines
- Any tight deadlines for the project
A skilled photographer will guide you through the process, ensuring you're comfortable and confident while capturing natural, professional shots.
Select Your Outfits
Once you've booked your photographer, it's time to think about what you'll wear. Your outfit should highlight your professional image while keeping the attention on you, not your clothing.
Choose Timeless Clothing
Go for solid colors and classic styles. These choices ensure the focus stays on your face and convey a polished, professional look.
Avoid Distracting Patterns
Steer clear of bold patterns or busy designs that might pull attention away from you. If an outfit doesn't look right on camera, have a backup ready to go.
Bring Extra Options
Pack a few extra outfits to give yourself flexibility during the shoot. This way, you can make adjustments and ensure your headshot aligns with the image you want to project.
Prepare Your Appearance
Start planning your grooming and makeup at least a week before your headshot session to achieve a polished, natural look.
Schedule Hair and Skin Care
Timing matters when prepping for your shoot. Book hair appointments 5-7 days prior to let your haircut or color settle. If you color your hair, touch up dark roots a few days before to ensure they don't stand out in photos.
For your skin, start preparing 72 hours in advance. Avoid salty foods and alcohol, drink plenty of water, skip harsh skincare products, and gently exfoliate for a smoother complexion.
Keep facial hair neatly trimmed or opt for a clean shave, but avoid shaving right before the session to prevent irritation.
"A little water goes a long way. Make sure you don't have hair sprouting in all directions. Our editing team can easily remove single strands of hair, but clumps of hair are much more difficult." [2]
Once your hair and skin are ready, shift your attention to makeup that enhances your natural features.
Plan Your Makeup
Makeup should complement your appearance, not overshadow it.
"Your headshot is about YOU looking your best - not your makeup attracting the attention. So keep everything soft, well blended and natural so your natural beauty shines through." [3]
For a camera-friendly look:
- Start with a primer and use a matte, SPF-free foundation that matches your skin tone.
- Apply neutral eyeshadows and define your brows naturally.
- Add a touch of blush to your cheeks, blend along the cheekbones, and use a highlighter sparingly for a soft glow.
- Keep oil-blotting pads on hand for touch-ups, and avoid glossy products that could reflect studio lights.
These steps will help ensure your headshot highlights your best features without distractions.
Stay Comfortable on Camera
Once you've prepared your appearance, the next step is staying relaxed during your session. Feeling at ease on camera is key to capturing natural, flattering photos. A little preparation goes a long way in helping you look and feel your best.
Talk to Your Photographer
Good communication with your photographer can make a big difference. Let them know your preferences and work together to highlight your best features. Building a connection with your photographer helps create a stress-free environment for your session.
"Trust that you've hired a photographer who has experience and will be able to direct you into your most flattering poses (this is critically important since you can't see yourself, after all!)" [4]
Here are some tips for working with your photographer:
- Share which angles and features you like most
- Check a few initial shots to ensure you're happy with the direction
- Voice any concerns or adjustments you'd like to make
- Keep the conversation light to stay at ease
This collaboration not only helps you feel more comfortable but also ensures the session runs smoothly.
Manage Photo Day Stress
Feeling nervous before a photo shoot is completely normal. To minimize stress, get a good night's sleep, go over your favorite angles, and consider creating an upbeat playlist to set the mood.
During the shoot, focus on being in the moment rather than striving for perfection. Remember, you'll have the final say when selecting your photos, so there's no need to put extra pressure on yourself.
| Stress Management Technique | Purpose | When to Use |
|---|---|---|
| Casual conversation | Encourages natural expressions | Throughout the session |
| Music breaks | Boosts mood and energy | Between pose changes |
"Your comfort level the day of your session is critical to getting great connection in your photos." [4]
Trust your photographer's expertise to guide you through flattering poses while keeping the session relaxed and enjoyable.
Check Your Photos
Once you're comfortable in front of the camera, the next step is making sure your photos align with your branding goals. Take the time to actively review each shot during the session to confirm they meet your expectations.
Here are some key elements to focus on when reviewing your photos:
| Element to Review | What to Look For | How to Communicate |
|---|---|---|
| Expression | A natural smile and confident look | "Can we try a softer smile for this one?" |
| Hair and Makeup | Stray hairs, shine, or uneven coverage | "There's a stray hair on the left side" |
| Lighting | Shadows and highlights | "The shadow under my chin seems a bit strong" |
| Overall Impression | Professional and polished appearance | "This angle makes my face look wider than I'd like" |
Providing specific feedback is essential for making precise adjustments. For example, saying, "Can you adjust the angle to make my face appear slimmer?" is much more effective than simply stating, "I don't like this photo."
Bringing a reference photo that you love can also be incredibly helpful. Having an example on your phone can show your photographer the angles and expressions you prefer.
"We would LOVE to see a photo of you from the past that you liked – bring those photos on your phone to your session." - HeadShots Inc [2]
While it's important to share your preferences, remember to stay open to your photographer's expertise. They know how to bring out your best look and will guide you with advice to make the session a success.
"Listen to Your Photographer: We will be giving you some advice at the beginning of your session... We only have your best interests in mind." - HeadShots Inc [2]
If something feels off, don't hesitate to speak up. This is your chance to create the perfect headshot, and clear communication will ensure the results match your vision.
Once you're happy with the shots, the next step is final photo editing to polish everything to perfection.
Final Photo Editing
Final editing polishes your headshot while keeping it natural. Collaborate with your photographer to ensure the final images align with your personal or professional brand.
Keep Edits Subtle
Ask for minor adjustments that enhance your appearance without drastically changing your features. Simple corrections - like tidying stray hairs or minimizing temporary under-eye puffiness - can make a big difference while preserving your natural look. While removing a single stray hair is easy, over-editing can result in an artificial appearance.
Once the edits are done, make sure the files are delivered in the right formats for their intended use.
Get the Right File Types
Different platforms have specific requirements for headshot file formats. Here's a quick guide to common specifications:
| Platform | Required Dimensions | Maximum File Size | Recommended Format |
|---|---|---|---|
| 400x400 – 7,680x4,320 px | 8 MB | PNG or JPEG | |
| 176x176 px (desktop) | 2 MB | JPEG | |
| 400x400 – 1,500x1,500 px | 2 MB | JPEG, PNG, or GIF | |
| Minimum 110x110 DPI | – | JPEG | |
| Print Use | 8×10 inches at 300 DPI | – | TIFF or JPEG |
Make sure to request these file types from your photographer:
- High-resolution master file: Ideal for printing and long-term storage.
- Web-optimized versions: Properly sized for online platforms to prevent quality loss.
- Cropped variations: Tailored for different professional uses.
Use the highest-quality file for websites and check if the platform compresses the image. If needed, ask your photographer for an optimized version. For corporate use, consult with your web design team to meet technical specs and ensure consistency across platforms.
Conclusion
Creating a standout professional headshot requires thoughtful preparation and a strong partnership with your photographer. Dan St Louis from HeadShots Inc. explains it best:
"Success in headshot photography is 50% client preparation and 50% our photography" [2]
Good preparation helps you feel at ease during the session, while your photographer's expertise ensures you look your best. As Jennifer Koskinen points out:
"Trust that you've hired a photographer who has experience and will be able to direct you into your most flattering poses (this is critically important since you can't see yourself, after all!)" [4]
When preparation meets professional guidance, the result is a headshot that truly reflects your personal brand. This combination ensures you leave a lasting impression across all your professional platforms.